


No More Room in Hell 2

No More Room in Hell 2 officially left Early Access with the Armageddon 1.0 update on August 11, 2026. The full release added a guided Tutorial, Solo Mode, Survival Mode, new maps, reworked difficulty settings, Weekly Assignments, Merits, and significant combat and progression changes. If you're jumping in fresh and want to skip the grind, you can Buy No More Room in Hell 2 Account at trusted platforms to get a head start.These additions make the game more approachable, but it remains a punishing cooperative zombie experience. Responders can become infected, valuable equipment can be lost, and death may permanently erase a developed character. This beginner guide explains how to prepare, manage resources, fight effectively, control infection, and reach extraction under the current 1.0 rules.
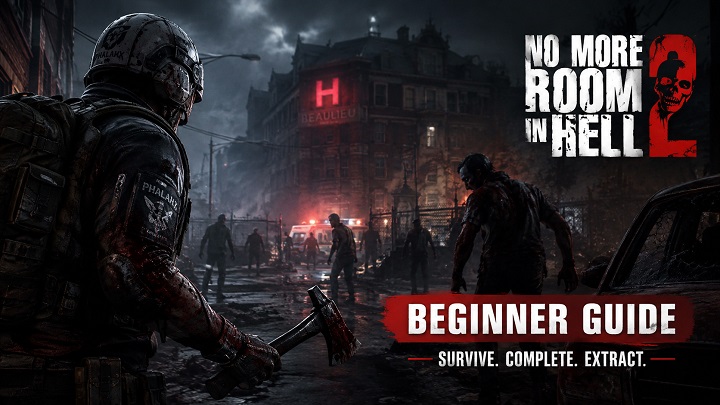
No More Room in Hell 2 Beginner Overview
| System | What Beginners Should Know | Recommended Action |
|---|---|---|
| Tutorial | Teaches combat, inventory management and objectives | Complete it before public matchmaking |
| Solo Mode | Has no traditional progression or permadeath | Use it to learn maps and test weapons |
| Beginner Difficulty | Features timed respawns and weaker zombies | Start here for your first multiplayer matches |
| Supplies | Converted into Credits after final extraction | Collect them without sacrificing essential gear |
| Infection | Can eventually turn a Responder into a zombie | Find Phalanx Pills or Gene Therapy |
| Early Extraction | Preserves the Responder but offers limited rewards | Use it when a mission is becoming unwinnable |
| Final Extraction | Provides character XP and full Supply-based Credits | Prepare carefully before calling extraction |
| Permadeath | Can permanently remove a Responder and their equipment | Avoid Hard and Nightmare until you know the maps |
Complete the Tutorial Before Joining a Public Match
Armageddon 1.0 introduced a guided Tutorial covering melee combat, firearms, objective interactions and inventory management. The training facility also provides areas where players can test different weapons, ammunition types and close-quarters combat mechanics.After completing the Tutorial, spend some time in Solo Mode. Solo Mode does not provide normal character progression, but it also removes the threat of permadeath. It is therefore the safest way to learn:
Map layouts and major landmarks
Objective interaction mechanics
Common zombie types
Melee attack timing
Firearm recoil and ammunition types
Infection symptoms and treatments
Final extraction locations
Routes through dangerous buildings
Solo practice cannot reproduce the communication and resource-sharing challenges of an eight-player match, but it can prevent basic navigation mistakes from costing a valuable Responder. The features and limitations of both modes are confirmed in the official Armageddon 1.0 update notes.
Choose the Right Difficulty
New players should begin on Beginner rather than selecting Normal simply because it sounds like the default experience.Beginner reduces zombie effective health by 30% and uses timed respawns, allowing defeated Responders to return approximately once per minute when the required conditions are met. Normal moves respawns to major objective checkpoints, making individual mistakes more dangerous.Hard and Nightmare disable these forgiving respawn systems. On those difficulties, a Responder can face permanent death from the moment the mission begins.Permadeath can still occur on Beginner and Normal if the team is eliminated before reaching another respawn opportunity or if a player dies after final extraction has been called. The developer’s permadeath explanation makes it clear that lower difficulty reduces the risk but does not remove it entirely.
A sensible progression path is:
Complete the Tutorial.
Explore several maps in Solo Mode.
Play Objective and Survival missions on Beginner.
Move to Normal after learning the main objective patterns.
Attempt Hard with a coordinated team and prepared loadout.
Treat Nightmare as endgame content.
What to do After Spawning?
Responders frequently begin a mission alone, in darkness and with limited equipment. Do not immediately sprint toward distant gunfire. First, check the current objective, map and compass to understand where you are.Search nearby containers and buildings for a dependable melee weapon, medical supplies and ammunition. Use proximity voice chat to locate other Responders, but avoid taking every item before meeting the group. Ammunition, infection treatments and healing items are scarce enough that sharing them may determine whether the entire squad survives.
Your early priorities should be:
Find a functional melee weapon.
Identify the safest route toward the active objective.
Preserve stamina while travelling.
Listen for teammates and nearby zombies.
Avoid unnecessary fights with large groups.
Collect useful Supplies without filling every inventory slot.
Meet at least one other Responder before entering a dangerous objective area.
The objective is not to kill every zombie on the map. It is to complete the mission and leave alive.
Manage Stamina and Use Melee Carefully
Sprinting, melee attacks, shoving and kicking all place demands on your stamina. A player who spends the entire stamina bar running may have no safe response when grabbed or trapped in a doorway.Quick attacks are useful for maintaining pressure, while strong and charged attacks deliver more power at the cost of longer preparation. Shove can interrupt enemies and extend a melee combination. Kick is better for moving a zombie away from a doorway, staircase or surrounded teammate.
Follow a controlled combat rhythm:
Keep enough distance to avoid trading hits.
Attack the head whenever the angle is safe.
Use Shove or Kick to create space.
Move backward or sideways after an attack.
Let stamina recover before engaging another group.
Avoid charged attacks when several zombies can reach you.
Always keep an escape route open.
The 1.0 update reduced Shove stamina cost and improved stamina recovery, but exhausting the bar in a crowded room remains dangerous.
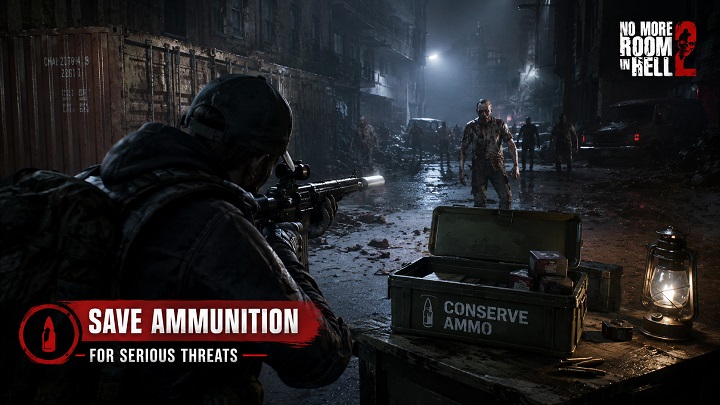
Save Ammunition for Serious Threats
Firearms are powerful, but ammunition becomes increasingly scarce at higher difficulties. Do not fire at every slow-moving zombie when a melee weapon can handle the situation safely.Save ammunition for Runners, armored enemies, emergencies, holdout objectives and the final extraction sequence. Check ammunition calibers before collecting boxes, and share rounds that match a teammate’s weapon rather than carrying incompatible ammunition.
Crouching reduces firearm spread, although the improvement varies between weapons. Suppressors also significantly reduce zombie perception, making suppressed firearms useful when the team wants to avoid attracting a larger group.The developers have reduced zombie vision and shortened the time enemies remain focused on a lost target. According to the official zombie perception breakdown, sneaking past small groups or breaking line of sight is now a viable strategy, particularly on lower difficulties.
Understand Infection Before It Is Too Late
Infection may begin with relatively subtle symptoms, including coughing and visual distortion. Symptoms become more severe over time, and visible veins indicate that the Responder is close to turning.
Two important treatments can be found during missions:
Phalanx Pills: Delay infection and provide additional time but do not permanently cure it. Each bottle contains three doses.
Experimental Gene Therapy: Cures infection and provides immunity, but only one appears in each match.
Tell the team immediately if symptoms appear. Hiding an infection prevents the squad from planning treatment and can create another dangerous enemy if the infected player turns near teammates.Because Gene Therapy is limited to one per match, the group should decide who needs it most. Phalanx Pills should also be shared according to infection status rather than collected by one uninfected player. These current treatment rules are described in the official 1.0 gameplay introduction.
Focus on Objectives Instead of Endless Fighting
Objective maps use a linear chain of tasks that eventually opens final extraction. Some sequences continuously generate zombies until the required interaction is completed. Remaining in these areas simply to fight can waste ammunition and medical supplies without improving the team’s position.
Before activating an objective:
Clear enough space around the interaction point.
Assign one player to perform the task.
Position other players to cover doors and corridors.
Confirm that the objective carrier has an escort.
Reload weapons and distribute healing items.
Identify a retreat route before the horde arrives.
The current Objective map selection includes Power Plant, Pottsville, Lewiston, Broadway, Beaulieu Hospital and Raven Rock. New players should explore unfamiliar maps in Solo Mode before risking a developed character online.
How to Survive Survival Mode?
Survival Mode places the team on smaller maps and asks Responders to protect speaker systems that draw zombies away from civilians.Players receive several minutes to loot and prepare before a wave begins. Each active defense lasts five minutes. Completing a wave brings another supply drop and sends the team toward the next defense location. Successfully completing three waves opens helicopter extraction, while failing two waves makes early extraction available.
During Survival missions:
Learn trap locations during the preparation period.
Do not spend all ammunition during the first wave.
Stay close enough to protect the speaker.
Resupply immediately between waves.
Cover separate entrances without isolating players.
Keep a retreat route away from the main horde.
Check infection and healing supplies before moving on.
Flooded, Lighthouse and Night of the Living Dead each require different positioning. Flooded makes fallen zombies harder to confirm because of standing water, while Lighthouse contains dangerous confined spaces. Night of the Living Dead includes a farmhouse, guest house and barn, with boards and fuel-powered traps available in parts of the map.
Know When to Extract
Early Extraction preserves the Responder when the mission appears impossible, but it provides no character progression and only a small amount of Credits. Final Extraction grants character experience and Credits based on the Supplies collected by the team.
Consider leaving early when:
Most of the team is dead or disconnected.
Infection is progressing without treatment.
The remaining players cannot complete the objective.
Medical supplies and ammunition are nearly exhausted.
A highly developed Responder faces unnecessary risk.
Survival is more valuable than a hopeless attempt to earn additional Supplies. Once final extraction begins, stop searching distant buildings and regroup at the extraction area. Death during this stage can still permanently remove a character, even on lower difficulties.
Build Several Responders
Players can maintain up to three Responders. Developing more than one prevents a single death from eliminating every useful build. Credits can be invested in equipment, skills and customization, while Merits are earned from Weekly Assignments.A Rescue Beacon can prevent the next loss a Responder would suffer, but it occupies a loadout slot and is consumed when used. Save it for a valuable character entering Hard, Nightmare or another high-risk mission.
Final Beginner Tips
Successful players do not necessarily kill the most zombies. They manage risk, communicate and understand when an objective matters more than another container of loot. If you want to start practicing these skills right away without the early grind, you can find a Cheap No More Room in Hell 2 Account to jump straight into the action.Start on Beginner, learn routes in Solo Mode, share medical resources and preserve ammunition for emergencies. Most importantly, treat extraction as part of the mission rather than something that automatically happens after the final objective. In No More Room in Hell 2, completing the task means little if your Responder does not make it home.









SUPPORT
LEGAL
Policies






 USD ($)
 English
  Help Center